Reverse bay parking is a driving skill that many learners worry about before their test. Whether practising in a supermarket car park or using your instructor’s reference points, reversing into a bay can seem tricky at first. Like most manoeuvres, it becomes easier once you understand the process and practise several times.
If you’re currently learning to drive, reverse bay parking is likely already part of your lessons and is one of the manoeuvres you may be asked to perform on the practical test. This guide covers how to reverse bay park, common reference points, test rules, and frequently asked questions — including the use of indicators and what can cause you to fail.

Reverse Bay Parking: Why It’s Important to Learn
Before we get into the step-by-step guide, it’s worth understanding why reverse bay parking is taught in the first place.
Many drivers prefer driving forward into a space because it feels easier, but reversing into a bay offers important safety advantages. Reversing into the space gives you much better visibility of pedestrians, cyclists, and other cars when you leave, reducing blind spots and making it safer to drive out.
For learner drivers, mastering this manoeuvre helps improve overall car control, increases confidence in handling the vehicle, and enhances safety. Reversing slowly, steering accurately, and checking your surroundings are essential driving skills that apply daily.
If you’re currently taking driving lessons in London, for example, you’ll probably practise this manoeuvre in a variety of car parks or quieter areas where you can safely focus on positioning and control. Learning in busy urban environments can actually help you develop confidence more quickly.
In this guide:
- How to Reverse Bay Park Step by Step
- Reverse Bay Parking Reference Points Explained
- Do You Indicate When Reverse Bay Parking?
- Can You Fail Your Driving Test on Reverse Bay Parking?
- Reversing Cameras: Helpful Tool or Bad Habit?
- Common Mistakes Learners Make When Reverse Bay Parking
- Practising Reverse Bay Parking as a Learner
How to Reverse Bay Park Step by Step
So, how can you reverse bay park simply and reliably? While instructors may use slightly different methods, the general process is usually quite similar.
Here’s an easy step-by-step guide learners can follow.
1. Find a Suitable Parking Space
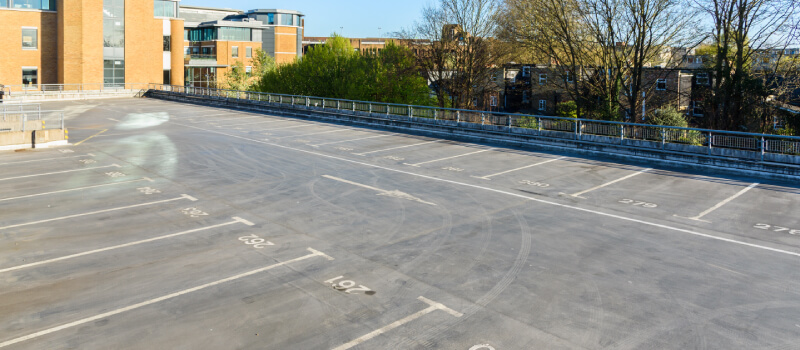
First, slowly drive through the car park and choose a space that’s easy for you to access. Ideally, pick a bay with plenty of space around it while you’re still learning.
Position your car so that the bay you want to reverse into is on your left or right, depending on the direction you’re approaching from.
2. Position the Car Correctly
Good positioning makes the manoeuvre much easier.
Usually, you’ll stop roughly one car width away from the bays and slightly ahead of the space you want to reverse into. This creates enough room to steer the vehicle smoothly into the bay without cutting the corner too sharply.
Take a moment to check all around the car, including your mirrors and blind spots, before you begin reversing.
3. Select Reverse Gear and Begin Slowly
Once you’ve checked it’s safe, select reverse gear and begin moving back very slowly.
Remember that reverse manoeuvres should always be done at a controlled speed. You should be able to stop quickly if another car, cyclist, or pedestrian appears.
4. Turn the Steering Wheel at the Right Moment
As the rear of your car reaches the correct position (this is where reference points come in), begin turning the steering wheel toward the space.
The car will start to swing into the bay.
Continue reversing slowly, checking both mirrors and looking around the car regularly. Your goal is to keep the car centred between the lines.
5. Straighten Up Inside the Bay
Once the car is mostly inside the parking space, straighten the steering wheel so the vehicle finishes reversing in a straight line.
Stop when the car is fully inside the bay and safely within the lines.
If your position isn’t quite right, don’t panic. You’re allowed to adjust. Moving forward slightly and correcting your angle is normal, both in lessons and on the test.

Reverse Bay Parking Reference Points Explained
One of the first things many instructors introduce during this manoeuvre is the use of reference points to help judge positioning.
Reference points are markers that show when to steer or when your car is correctly positioned. They often involve using parts of the car, like mirrors or door handles, aligned with parking lines.
For example, your instructor might teach something like:
- Start turning the steering wheel when the first parking line appears at the reference point in your mirror.
- Straighten the wheel when the car becomes parallel with the bay lines.
- Stop when the front of your car reaches a particular visual point.
These reference points are helpful because they give learners a consistent way to judge positioning.
However, it’s important to remember that reference points can vary depending on:
- The car you’re driving
- Your seating and mirror position
- The size of the parking bay
This is why practising the manoeuvre in the same vehicle during your lessons is useful. Over time, you’ll rely less on fixed reference points and more on your awareness of the car’s position.
Many learners taking driving lessons in London find that practising in different car parks is especially useful, as bay sizes and layouts can vary significantly across the city.

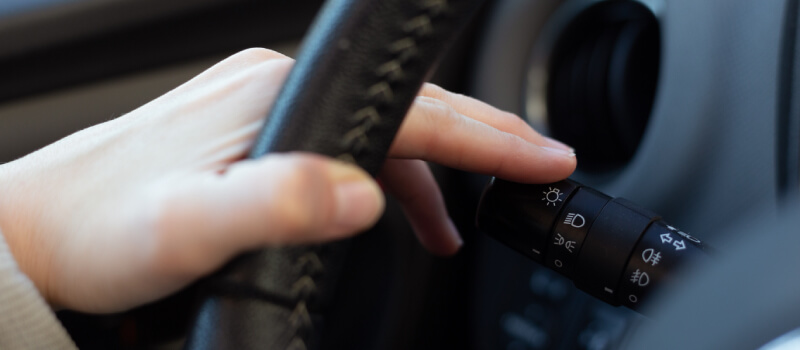
Do You Indicate When Reverse Bay Parking?
Many learner drivers are unsure whether indicators are needed when carrying out this manoeuvre in a car park.
The short answer is — sometimes.
Indicating isn’t always required for this manoeuvre, especially in a quiet car park. However, you should always use indicators when they help communicate your intentions to others.
For example, you may choose to indicate if:
- Another vehicle is approaching behind you.
- You’re moving across traffic to reach the bay.
- Your manoeuvre might affect other drivers nearby.
Indicators are all about communication. If signalling helps others understand what you’re about to do, you should use them.
For learners who want to understand signalling properly, it’s worth learning more about how to indicate correctly and when indicators are actually necessary.
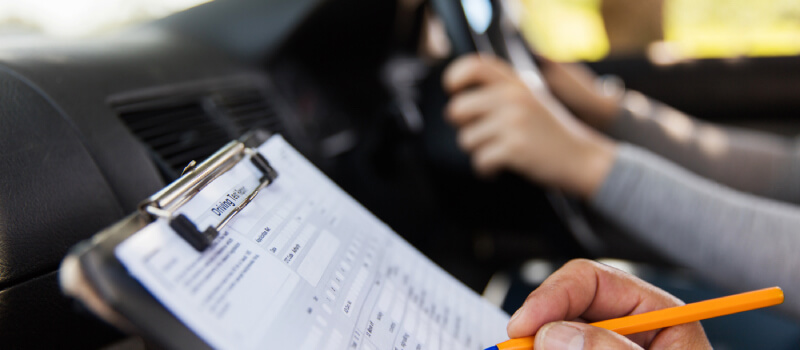
Can You Fail Your Driving Test on Reverse Bay Parking?
If you’re preparing for your practical test, it’s important to understand reverse bay parking rules and how examiners assess the manoeuvre. In most cases, the task itself is quite straightforward. You may be asked to reverse into a bay at the test centre car park at the end, or occasionally in a public car park during the route. The examiner will simply ask you to park in a bay and focus on safe, controlled execution rather than perfection.
While reversing, examiners will be paying attention to a few key things:
- Observation: checking mirrors and surroundings regularly, including looking over your shoulder and checking blind spots.
- Control: keeping the car moving slowly and steadily, as reversing too quickly can lead to faults.
- Positioning: finishing within the bay lines, although small adjustments are allowed if needed.
- Awareness of others: stopping if pedestrians or other vehicles move behind the car.
So, can you really fail your test on this manoeuvre? The answer is yes, but it usually comes down to what actually happens while you’re completing it. Your parking doesn’t have to be perfect, and many learners make small adjustments and still pass. That said, you could receive a serious fault if you:
- Mount the kerb or hit another vehicle.
- End up significantly outside the bay lines.
- Reverse without proper observation.
- Put other road users at risk.
Small mistakes often result in minor faults, not failure. Taking extra time, readjusting, or hesitant steering may be noted, but staying safe, aware, and in control is what examiners want to see.
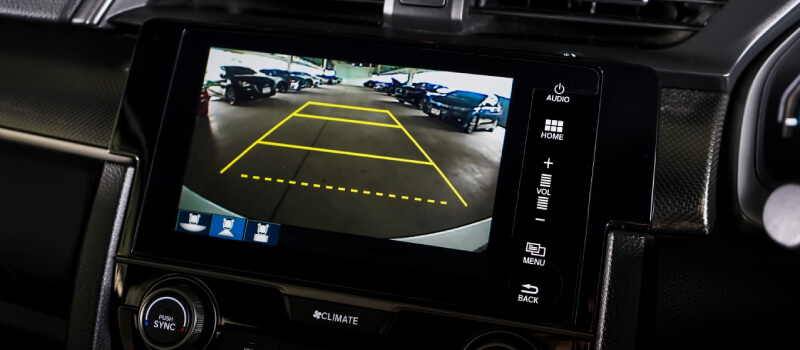
Reversing Cameras: Helpful Tool or Bad Habit?
Modern cars often come equipped with reversing cameras, making parking feel much easier. These cameras provide a view behind the vehicle and may include guiding lines that help with positioning.
There are clear advantages to using reversing cameras. They can improve visibility behind the car and help drivers spot obstacles that might otherwise be difficult to see. Many drivers find they feel more confident when reversing with this extra visual aid.
There are several benefits to installing a car reverse camera, particularly for drivers who regularly park in tight spaces.
However, learner drivers should be careful not to rely on them too heavily.
During driving lessons and driving tests, examiners expect you to use proper observation techniques, including mirrors, blind spot checks and looking around the vehicle. Cameras should be used as an additional aid, not a replacement for observation.
If the car you use for your test has a reversing camera, you can glance at it briefly, but you still need to show full awareness of your surroundings.
That’s why most instructors encourage learners to practise the manoeuvre using mirrors and observation first, before relying on technology.
Common Mistakes Learners Make When Reverse Bay Parking
Reverse bay parking can feel awkward at first, and it’s completely normal to make mistakes while learning.
Here are a few common issues learners run into:
Turning the Wheel Too Early
If you start steering before the car is in the right position, you might cut the corner and end up too close to one of the marked bay lines.
Good positioning at the start makes the manoeuvre much easier.
Reversing Too Quickly
Many learners accidentally reverse faster than they realise. Keeping the car slow and controlled gives you time to adjust your steering if needed.
Not Checking the Surroundings Enough
Observation is one of the most important parts of any reversing manoeuvre. Always check mirrors and look around the vehicle regularly.
Also, remember that car parks have their own rules and markings, so it’s a good idea to familiarise yourself with the latest parking and waiting rules before driving in busy or unfamiliar areas.
Overthinking Reference Points
Reference points are helpful, but they shouldn’t be the only thing you rely on. As your experience grows, you’ll start judging space and positioning more naturally.
Practising Reverse Bay Parking as a Learner
Like most driving skills, reverse bay parking improves quickly with practice.
If you’re practising with a driving school in London, you’ll probably try this manoeuvre in several different locations to get comfortable with different bay sizes and layouts.
Outside of lessons, you can also practise with a supervising driver in quieter car parks when they’re less busy. Early mornings or evenings often provide plenty of empty spaces, making them ideal for practice.
The more experience you get reversing into bays, the less intimidating it becomes.

Final Thoughts on Reverse Bay Parking
Reverse bay parking is a manoeuvre that seems difficult at first, but becomes surprisingly straightforward once you understand the steps. By focusing on good positioning, careful steering and regular observation, most learners pick it up much faster than they expect.
Remember that the goal isn’t perfection, but safe and controlled driving. Taking your time, adjusting if needed and staying aware of your surroundings will always matter more than completing the manoeuvre in one smooth movement.
With a bit of practice and patience, reverse bay parking will quickly become just another everyday driving skill you barely think about when you’re heading to the shops, parking at work or pulling into a busy car park.